【原创】MacOS 上使用 Vagrant + VirtualBox 安装 Ubuntu 18.04
安装准备
1、简介
使用 Vagrant + VirtualBox 的方式管理虚拟机极大方便了多操作系统环境需求的用户。
通过 Vagrant 安装与管理虚拟机,使得我们不用再去网上下载硕大的 ISO 镜像,然后再在虚拟机软件上执行多达 10 多步的设置。然后还得花上至少几十分钟时间等待安装,这样的过程太冗长了。
我们可以通过 Vagrant 快速安装一个无界面的操作系统,甚至只需要两行命令即可。而且无界而操作系统的镜像大小也小了很多。
但是,Vagrant 管理的镜像即使已经很小了,默认从位于国外的服务器下载仍然需要不少时间。
因此,本文介绍了如何使用官方的方式通过 Vagrant 创建 Ubuntu 18 虚拟机,以及如何加速创建虚拟器的过程。
2、安装环境
MacOS 10.15.6
Vagrant 2.2.10
VirtualBox 6.1.12
安装步骤
1、首先去 vagrant boxes 官网搜索需要的 box
https://app.vagrantup.com/boxes/search

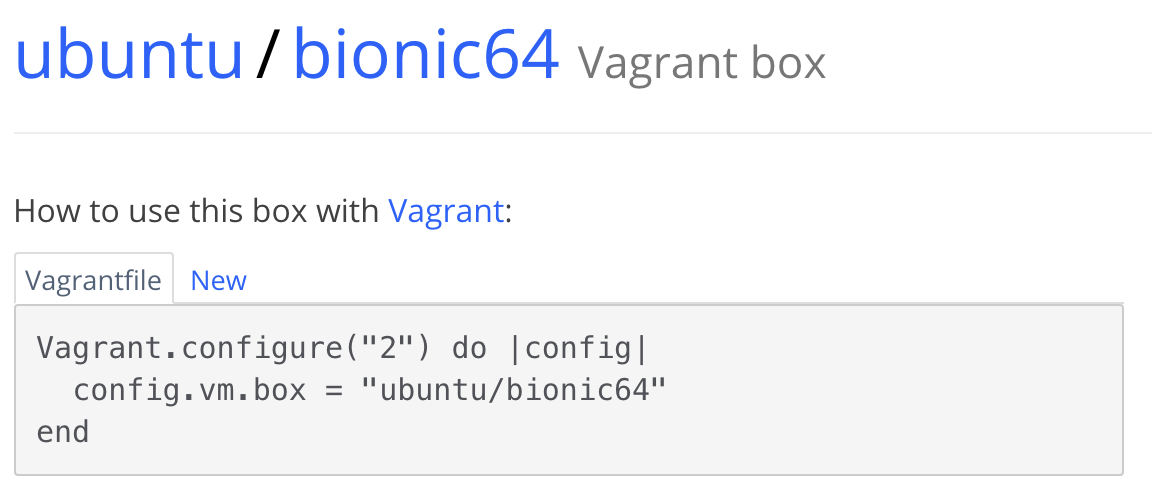
点击一个需要使用的 box,这里以 Official Ubuntu 18.04 LTS 为例。点击后,在新页面可以看到如下内容:
Vagrantfile tab 给出了 Vagrantfile 的文件内容,我们可以复制这部分内容到本地的 Vagrantfile 中。
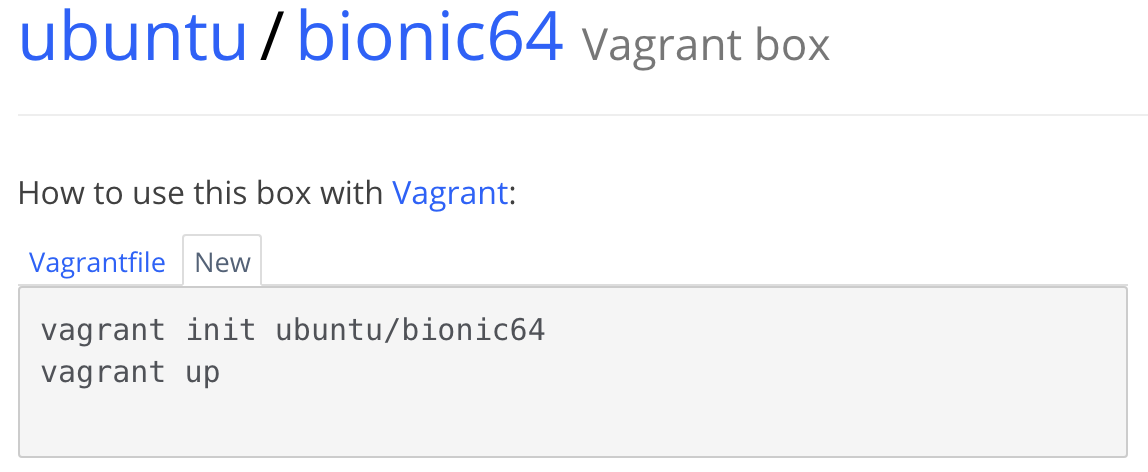
New tab 页给出了使用 vagrant init 命令来初始化 Vagrantfile 以及启动虚拟机的命令。
2、安装虚拟机
这里以使用 vagrant init 初始化 Vagrantfile 为例。
(1) 创建一个 vagrant 虚拟机的目录
➜  vagrant pwd
/Users/jiangzhuolin/Workspace/vagrant
➜  vagrant
➜  vagrant
➜  vagrant mkdir ubuntu_18.04_x64
这个目录可以位于任意当前用户有权限访问的位置
(2) vagrant init
vagrant init ubuntu/bionic64
示例:
➜  vagrant cd ubuntu_18.04_x64
➜  ubuntu_18.04_x64
➜  ubuntu_18.04_x64 pwd
/Users/jiangzhuolin/Workspace/vagrant/ubuntu_18.04_x64
➜  ubuntu_18.04_x64
➜  ubuntu_18.04_x64 vagrant init ubuntu/bionic64
A `Vagrantfile` has been placed in this directory. You are now
ready to `vagrant up` your first virtual environment! Please read
the comments in the Vagrantfile as well as documentation on
`vagrantup.com` for more information on using Vagrant.
➜  ubuntu_18.04_x64 ll
total 8
drwxr-xr-x  4 jiangzhuolin  staff   128 Sep 28 01:32 ./
drwxr-xr-x  6 jiangzhuolin  staff   192 Sep 10 03:15 ../
drwxr-xr-x  4 jiangzhuolin  staff   128 Sep  4 13:31 .vagrant/
-rw-r--r--  1 jiangzhuolin  staff  3021 Sep 28 01:32 Vagrantfile
可以看到,执行了 vagrant init 命令之后,该目录下就自动生成了一个 Vagrantfile 的文件。这个文件也可以我们自己创建然后复制上面 vagrant box 网站上给出的 Vagrantfile 内容。
(3) vagrant up
执行 vagrant up 启动虚拟机
示例:
➜  ubuntu_18.04_x64 vagrant up
Bringing machine 'default' up with 'virtualbox' provider...
==> default: Box 'ubuntu/bionic64' could not be found. Attempting to find and install...
    default: Box Provider: virtualbox
    default: Box Version: >= 0
==> default: Loading metadata for box 'ubuntu/bionic64'
    default: URL: https://vagrantcloud.com/ubuntu/bionic64
==> default: Adding box 'ubuntu/bionic64' (v20200922.0.0) for provider: virtualbox
    default: Downloading: https://vagrantcloud.com/ubuntu/boxes/bionic64/versions/20200922.0.0/providers/virtualbox.box
Download redirected to host: cloud-images.ubuntu.com
Progress: 0% (Rate: 14246/s, Estimated time remaining: 5:35:44)
可以看到的是,执行 vagrant up 后,vagrant 还会从远程的 vagrantcloud 中去下载 box,而这个下载速度也着实是感人。
3、加速 vagrant 安装
提升 vagrant 的使用体验有两种,一种是手动离线下载我们需要的 box,另一种则是使用国内镜像源在线下载。
(1) 手动下载 box 文件
https://vagrantcloud.com/ubuntu/boxes/bionic64/versions/20200922.0.0/providers/virtualbox.box
通过某雷下载加速能比直接从官网下载快一些...

还是觉得慢???试试从清华大学镜像源下载
https://mirrors.tuna.tsinghua.edu.cn/ubuntu-cloud-images/bionic/20200922/bionic-server-cloudimg-amd64-vagrant.box
这样的速度你开心了吗

将下载的 box 文件添加到 vagrant box 中
vagrant box add --name {box_name} box_file_path
注:
(1) box_name 是自定义的名称,可自己定义,但不能与已有的 box 重复。可使用 vagrant box list 查看已有的 box name
➜  ubuntu_18.04_x64 vagrant box list
centos/7      (virtualbox, 2004.01)
ubuntu_bionic (virtualbox, 0)
(2) box_file_path 是下载的 box 文件的路径加名称。
示例:
➜  ubuntu_18.04_x64 pwd
/Users/jiangzhuolin/Workspace/vagrant/ubuntu_18.04_x64
➜  ubuntu_18.04_x64 vagrant box add --name ubuntu_bionic ~/Downloads/bionic-server-cloudimg-amd64-vagrant.box
==> box: Box file was not detected as metadata. Adding it directly...
==> box: Adding box 'ubuntu_bionic' (v0) for provider:
    box: Unpacking necessary files from: file:///Users/jiangzhuolin/Downloads/bionic-server-cloudimg-amd64-vagrant.box
==> box: Successfully added box 'ubuntu_bionic' (v0) for 'virtualbox'!
创建 vagrant 虚拟机
➜  ubuntu_18.04_x64 rm Vagrantfile
➜  ubuntu_18.04_x64 vagrant init ubuntu_bionic
A `Vagrantfile` has been placed in this directory. You are now
ready to `vagrant up` your first virtual environment! Please read
the comments in the Vagrantfile as well as documentation on
`vagrantup.com` for more information on using Vagrant.
➜  ubuntu_18.04_x64 vagrant up
Bringing machine 'default' up with 'virtualbox' provider...
==> default: Importing base box 'ubuntu_bionic'...
==> default: Matching MAC address for NAT networking...
config.vm.synced_folder '/host/path', '/guest/path', SharedFoldersEnableSymlinksCreate: false
==> default: Clearing any previously set network interfaces...
    default: 22 (guest) => 2222 (host) (adapter 1)
==> default: Running 'pre-boot' VM customizations..
...
    default: Guest Additions Version: 5.2.42
    default: VirtualBox Version: 6.1
==> default: Mounting shared folders...
    default: /vagrant => /Users/jiangzhuolin/Workspace/vagrant/ubuntu_18.04_x64
➜  ubuntu_18.04_x64
注: vagrant init 后面的名称与上面 vagrant box add --name {box_name} 这个名称必须一致。
(2) 使用镜像地址初始化
初始化:
➜  ubuntu_18.04_x64 vagrant init ubuntu_bionic https://mirrors.tuna.tsinghua.edu.cn/ubuntu-cloud-images/bionic/current/bionic-server-cloudimg-amd64-vagrant.box
...
A `Vagrantfile` has been placed in this directory. You are now
ready to `vagrant up` your first virtual environment! Please read
the comments in the Vagrantfile as well as documentation on
`vagrantup.com` for more information on using Vagrant.
运行:
➜  ubuntu_18.04_x64 vagrant up
Bringing machine 'default' up with 'virtualbox' provider...
==> default: Importing base box 'ubuntu_bionic'...
==> default: Matching MAC address for NAT networking...
==> default: Setting the name of the VM: ubuntu_1804_x64_default_1601230235185_9559
==> default: Clearing any previously set network interfaces...
==> default: Preparing network interfaces based on configuration...
    default: Adapter 1: nat
==> default: Forwarding ports...
    default: 22 (guest) => 2222 (host) (adapter 1)
    default: SSH auth method: private key
...
    default: Guest Additions Version: 5.2.42
    default: VirtualBox Version: 6.1
==> default: Mounting shared folders...
    default: /vagrant => /Users/jiangzhuolin/Workspace/vagrant/ubuntu_18.04_x64
注: 即使是在线下载 box 的方式,也只需要第一次会从远程库进行下载,如果再使用 Ubuntu 18.04,则会从本地的缓存中加载,也方便了我们使用 Vagrant。
运行验证
使用 vagrant ssh 可进入 Ubuntu 虚拟机环境,可查看系统信息。
➜  ubuntu_18.04_x64 vagrant ssh
Welcome to Ubuntu 18.04.5 LTS (GNU/Linux 4.15.0-118-generic x86_64)
* Documentation:  https://help.ubuntu.com
* Management:     https://landscape.canonical.com
* Support:        https://ubuntu.com/advantage
  System information as of Sun Sep 27 18:11:34 UTC 2020
  System load:  0.33              Processes:             100
  Usage of /:   10.5% of 9.63GB   Users logged in:       0
  Memory usage: 12%               IP address for enp0s3: 10.0.2.15
  Swap usage:   0%
0 packages can be updated.
0 updates are security updates.
vagrant@ubuntu-bionic:~$
vagrant@ubuntu-bionic:~$ cat /etc/issue
Ubuntu 18.04.5 LTS \n \l
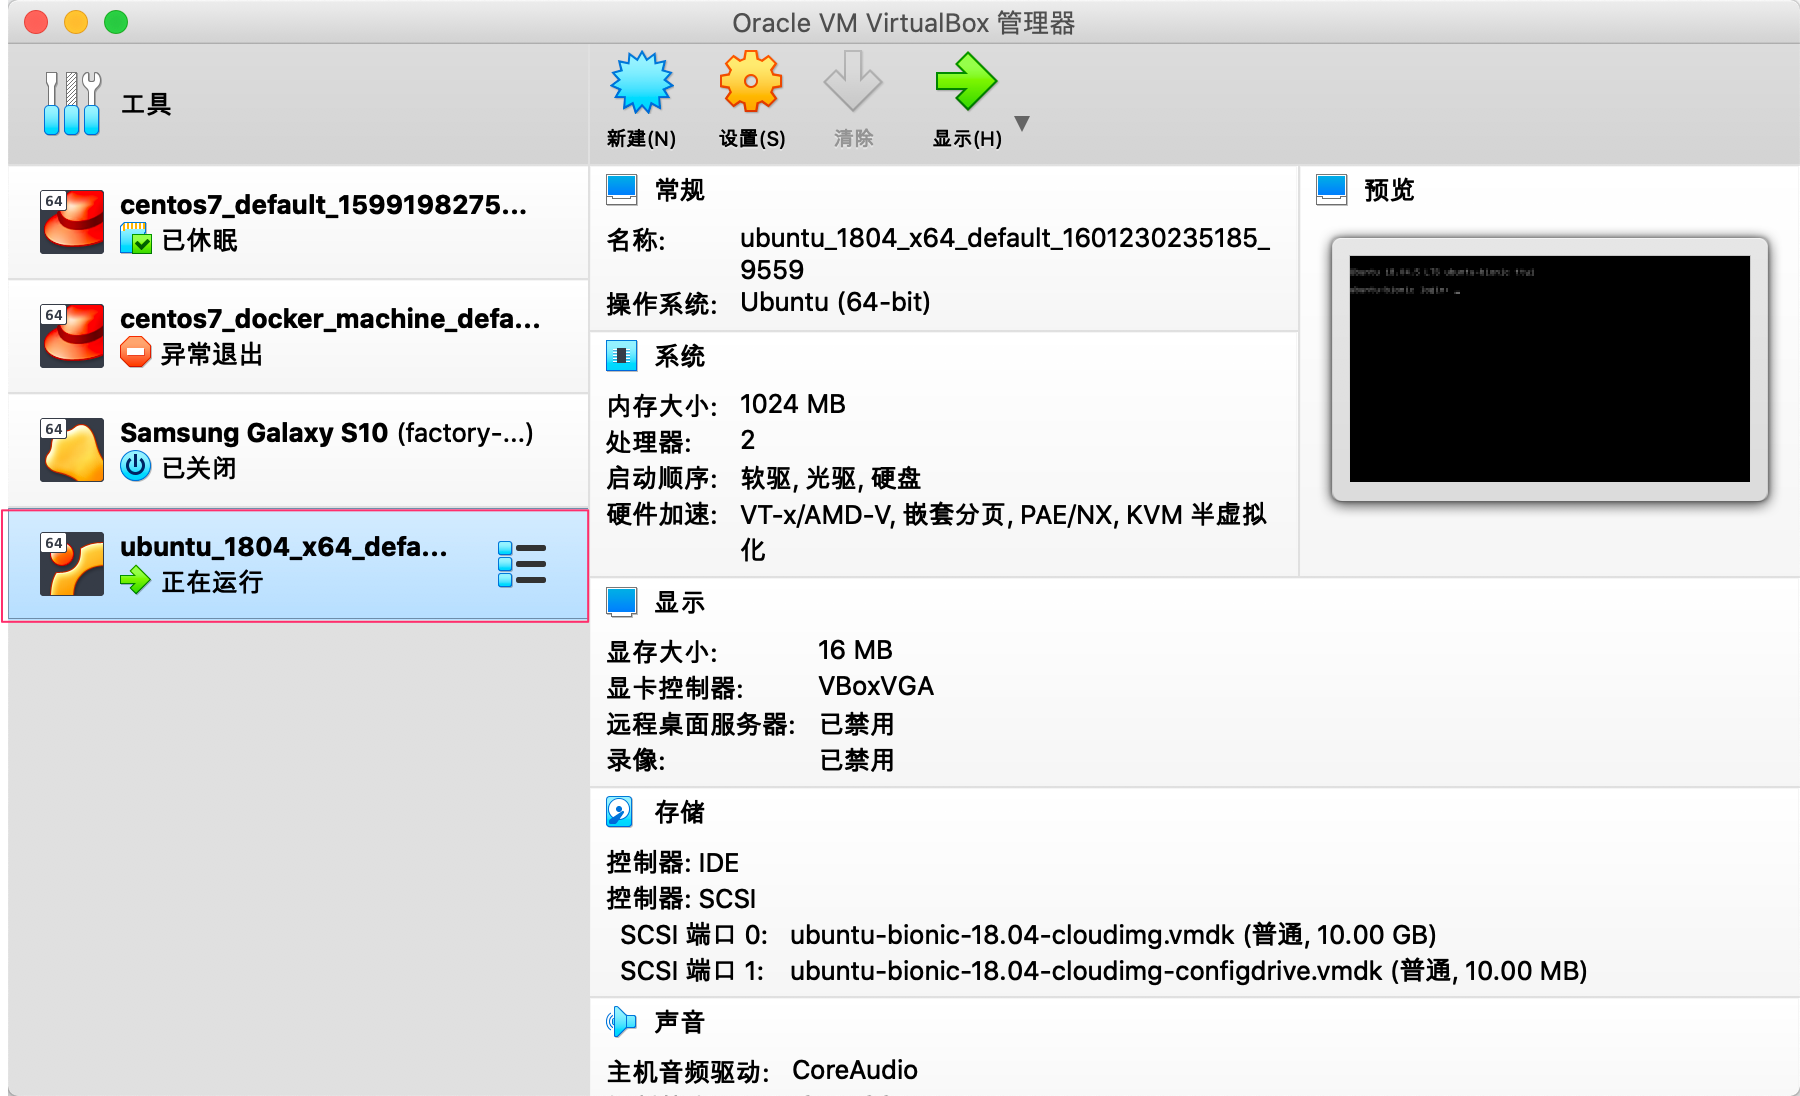
也是能从 VirtualBox 中找到已经在运行的 Ubuntu 18.04 的虚拟机的!
附录
Vagrant Official Website
https://www.vagrantup.com/
Vagrant boxes website
https://app.vagrantup.com/boxes/search
清华大学镜像站
https://mirrors.tuna.tsinghua.edu.cn/
参考:
https://blog.csdn.net/dafei1288/article/details/105828516/
https://blog.csdn.net/weixin_44631631/article/details/102587491
近期评论